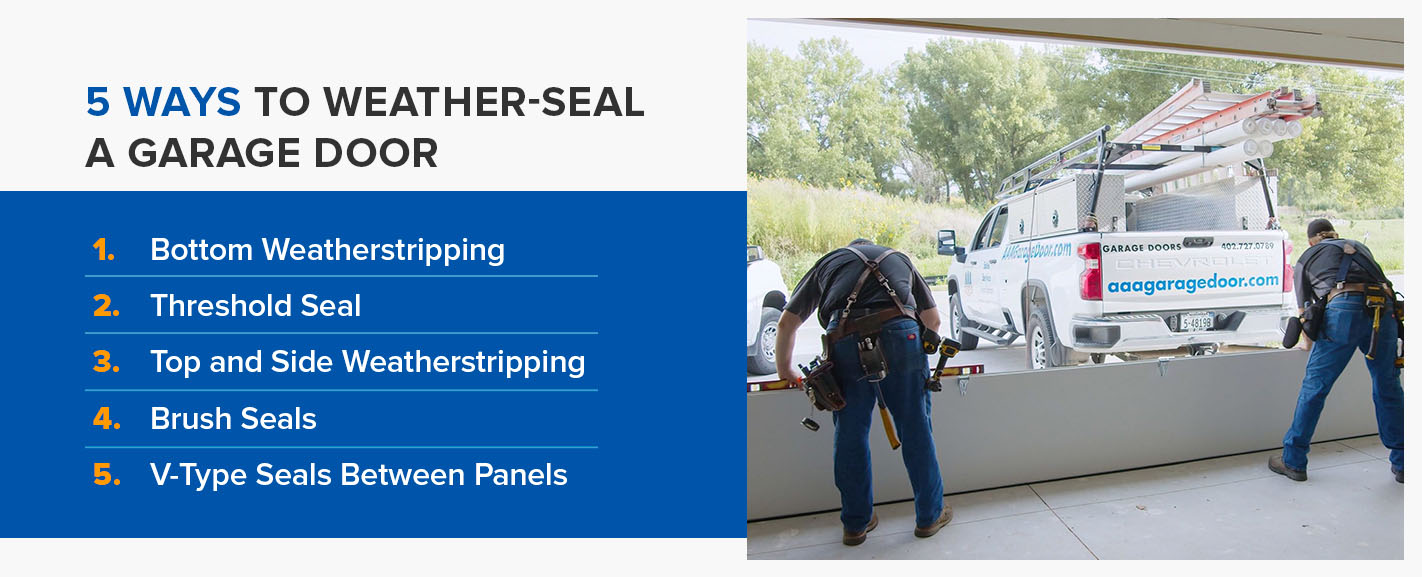
Sealing your garage door against the weather helps protect the space and keeps your belongings safe. Proper garage door weather stripping keeps drafts, pests, and moisture out of your garage. To seal a garage door effectively, you need to address all vulnerable areas including gaps, edges, and bottom seals. Learn how to seal garage doors and weatherproof your garage with these five tips.
1. Sealing the Bottom: Installing a Bottom Garage Door Seal
A garage door bottom seal is one of the most important weather barriers in your home. Learn why installing a quality bottom garage door seal keeps out drafts, noise, and pests.
Also known as a door sweep, bottom weatherstripping is a common way to seal a garage door. Installing garage door weather stripping is one of the most cost-effective ways to improve energy efficiency. This rubber seal attaches to the bottom of your garage door and compresses to fill gaps between the door and the floor. This garage door weather strip is available in rolls from most home improvement stores.
Bottom-seal weatherstripping generally comes in a standard shape that fits in the channels on the bottoms of most garage doors. If you have a wooden garage door, you may need to screw or nail in the weatherstripping. Be sure to choose aluminum or galvanized fasteners to prevent rusting. You can also install a metal channel to make your wood door compatible with standard seals.
Replacing bottom weatherstripping is relatively easy. First, remove the old seal. Most kinds pull out of the channels on the bottom of the door. However, some seals may have screws or nails, even on metal or fiberglass doors. Once you've removed the old seal, clean the bottom of the door. Push the new seal into the channels in one continuous piece, and trim it to fit your door. If the old weatherstripping had nails or screws, replace these fasteners as appropriate.
2. Threshold Seal
A threshold seal also assists in sealing garage door gaps between the door and the floor, but this garage door seal attaches to the floor instead of the door. It can stand alone, but is more effective when combined with a bottom seal. Since it's durable enough to drive over, a threshold seal typically consists of harder rubber and is longer-lasting than weatherstripping.
This seal can help keep water out of your garage if the driveway slopes toward the garage, but it can also make it more challenging to hose out or sweep your garage. It can also be a good option if your door meets the ground asymmetrically. However, if your door is significantly irregular or suddenly becomes uneven, it's best to call a professional to repair and adjust it.
To install a threshold seal, mark the floor where you want it to be with chalk or a permanent marker. Clean the floor and wipe down the bottom of the seal. Apply construction adhesive to the floor in two lines along the edges of the seal and in a zigzag down the middle. Place the seal and gently press it into the adhesive. Most adhesives need 24 hours to cure before you can drive over them.
3. Sealing the Sides: Benefits of Garage Door Side Weather Stripping
The sides of your garage door are critical for weather protection. Quality garage door side weather stripping prevents water infiltration and improves energy efficiency.
Learning how to seal garage door sides and top gaps prevents air leaks and pest infiltration. Rubber weatherstripping is also available in a slightly different configuration to seal garage door sides and top. However, this seal attaches to the door frame rather than the door. Garage weatherstripping is available in rolls at most home improvement stores and cuts easily with a utility knife. It should sit flush against the trim, so you may need to remove raised strips from the frame or sand it for a smooth finish.
To properly seal garage door sides and top, you'll need the right materials and a systematic approach. Measure and cut three pieces — one for the top and one for each side to effectively seal garage door sides. Cut the ends of the top piece at an angle to accommodate the side pieces. Attach the weatherstripping with aluminum or galvanized nails or screws to avoid rust. Install the garage door weather stripping side pieces first, then the top overlapping the side pieces. The outside flange should touch the door along the top and sides when the door is closed. Caulk where the seal meets the frame. Be sure to use a garage door sealer or caulk for garage doors or exteriors.
4. Brush Seals
Rather than being solid rubber, these seals use brushes, which are more flexible and durable than standard weatherstripping. Brush seals are more common along the top frame, but you can also install them on the sides. They cover the gap created when the door bends into the garage. Because brush seals aren't a solid barrier, air, debris and small bugs may still get through. These come in multiple pieces and secure with adhesive tape. The brush should touch the door when it's closed to be most effective.
Once you're ready to install, clean the frame for better adhesion. On the first piece, pull the brush out of the track and cut it about 2 inches short. Attach adhesive tape to the track and press it onto the frame. After attaching the second piece, feed the brush from that piece into the track on the first piece. This overlap helps ensure no gaps between pieces. To account for this overlap on the last piece, pull the brush out 2 inches before cutting the track to fit with a hacksaw.
5. V-Type Seals Between Panels
This product ensures garage doors seal by closing gaps between garage door panels for enhanced weatherproofing. Many newer doors won't need V-type seals since their panels have interlocking edges to block air when the door is closed. These seals are best for older or wooden doors with flat panel edges. Be sure to count the number of panels in addition to measuring the door's width. Because V-seals cover moving parts, they can wear out faster than other weatherstripping types. It's best to check them every three months.
To install V-seals, clean the inside of the panels where the seals will stick. Cut the seals to fit between the panels in one continuous piece. Pull back part of the adhesive backing, but don't remove all of it at once. Fit the seal between two panels and press firmly into place. Continue peeling off the backing and placing the seal as you move along the door.
Frequently Asked Questions
If you aren't sure whether sealing your garage is worth it or have more questions about replacing weatherstripping, you can find the answers to frequently asked questions here.
Why Should I Weatherproof My Garage?
Weatherproofing and weatherstripping are essential for keeping out water, debris, bugs and other pests, which can get into your home if you have an attached garage. Other benefits of weatherproofing your garage include reduced cleaning and improved energy efficiency. If you heat or cool the space, weatherproofing can help save you money on energy use. Sealing garage door gaps is one of the best investments for improving comfort and reducing energy costs.
How Do I Know if I Need Weatherproofing?
If you don't currently have weatherproofing, you could likely benefit from adding some. Garage door weatherproofing provides several advantages and is relatively easy to do. To determine where you need weatherproofing, stand in your garage with the door closed and the lights off. If you see light coming in around the garage door, you want to seal those gaps.
How Long Should Garage Door Weatherstripping Last?
Weatherstripping lasts two to three years, but it's best to check annually to see if it needs replacing. Weatherstripping may wear out faster on doors that experience heavy use.
How Do I Know When to Replace the Weatherstripping?
Good weatherstripping is pliable and soft to conform to the door's shape and compress into any gaps. It's time to replace your weatherstripping if it's hard and brittle. You also need new weatherstripping if you notice cracks, tears or rips. Even if the weatherstripping seems to be in good condition, it might need replacing if you feel a draft, see light around the door or find more dirt near the frame.
Can I Install Weatherstripping Myself?
Yes! Installing garage door weather stripping on the side of your door creates an effective seal that prevents drafts, pests, and water damage. Adding or replacing weatherstripping is a manageable do-it-yourself task for most homeowners. Caulking and other weatherproofing methods are also suitable for DIY.
However, you can also hire a professional if you don't feel confident in your skills, need other garage door repairs or don't have time to do it yourself. AAA Garage Door can install, repair and replace your weatherstripping.

Contact AAA Garage Door
Since 1994, AAA Garage Door has provided prompt, reliable service to homeowners in the greater Omaha area. Whether you need a new garage door and opener system, regular maintenance or repairs, our trained technicians will get your garage door working and exceed your expectations. Contact us today to request service.
Popular Posts